Our first game is a puzzle one, so we had to deal a lot with image manipulation. In this post I would like to share some basic knowledge about dealing with image in Corona and also some details that could save you some time in the future.
First, create a empty text file and save it as main.lua.
Now let show a image, my dolphin.jpg file, in the screen. We can do that by writing the following code inside the main.lua:
First, create a empty text file and save it as main.lua.
Now let show a image, my dolphin.jpg file, in the screen. We can do that by writing the following code inside the main.lua:
local img = display.newImage( "dolphin.jpg")
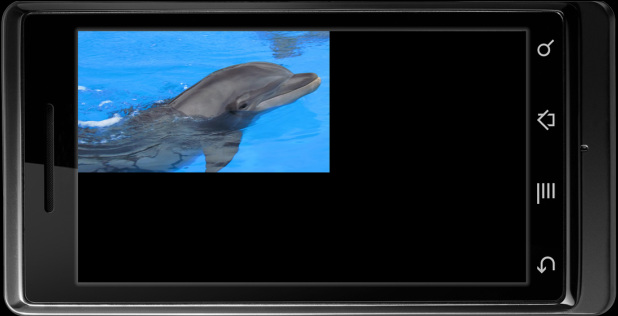
In the code above we displayed the image (dolpin.jpg) in the screen and created the variable img that will handle the image. Our screen will look like below:
Using the image properties (accessible by the variable name, in our case, img) we can specify the image position, increase/decrease its height or width and modify other properties. You can see the common image properties here.
Now lets change the image position just a little away from the margin.
Now lets change the image position just a little away from the margin.
img:setReferencePoint(display.TopLeftReferencePoint)
img.x = 50
img.y = 100
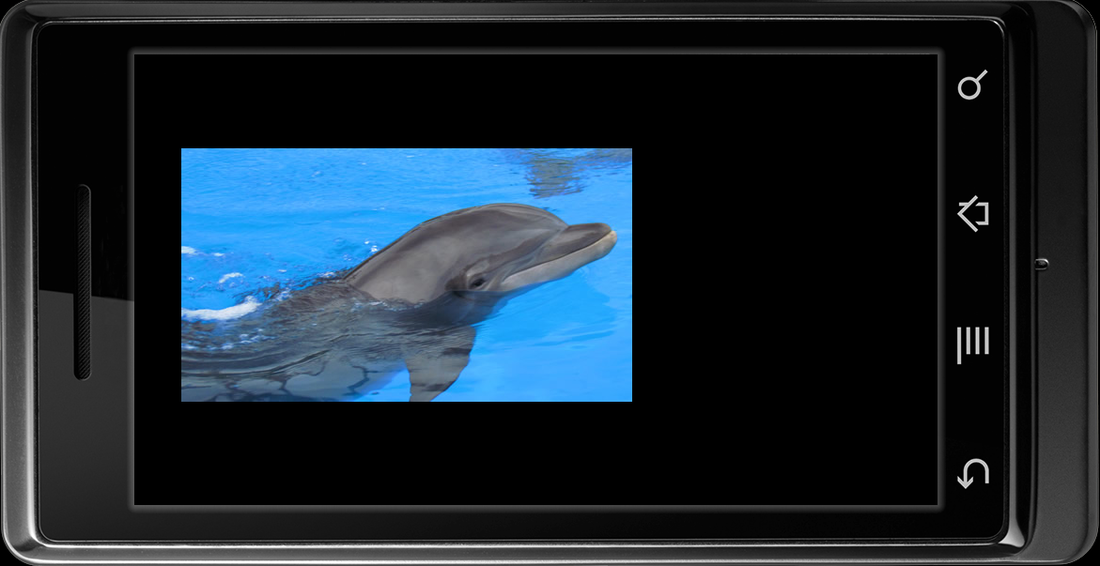
In the first line of the code above, we just specify what point of the image (e.g: Center of the image, top-left corner,...) Corona must use to position the image. In our case, we specified that we want the top-left corner of the image to be at the (x,y) = (50, 100).
Just remember that top-left corner of the screen is the (0,0) coordinate and as you move to the right the x-axis increases. As you move down you increase the y-axis.
Our updated screen is like below:
Just remember that top-left corner of the screen is the (0,0) coordinate and as you move to the right the x-axis increases. As you move down you increase the y-axis.
Our updated screen is like below:
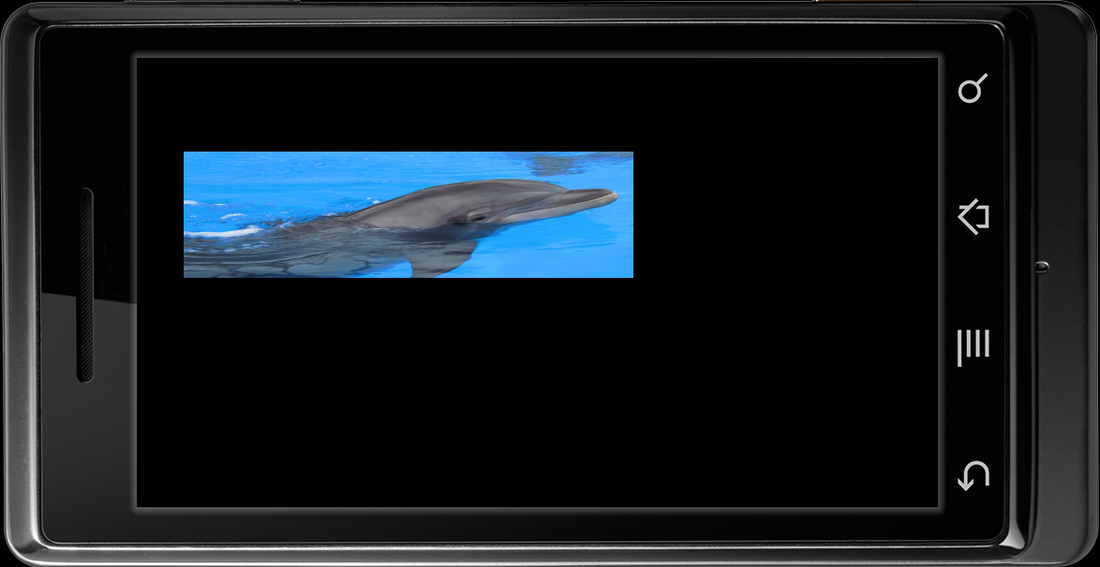
Lets say that we want to reduce the width of the image by half. We can do that by writing the following code:
img.yScale = 0.5
The code above reduces the original y-dimension (image height, that in our case is 276 pixels) of the image by a factor of 0.5. Just be careful that yScale (or the xScale) is based on the original image dimensions (height or width). I.e, if we write the code above again in the file, nothing will change in the screen. If I would like to reduce the size by half again, I would have to set the yScale factor to 0.25.
The xScale and yScale reduce the respective image dimension by the factor specified, leaving unmodified the original image dimension (height, width).
So, now our screen is as below.
The xScale and yScale reduce the respective image dimension by the factor specified, leaving unmodified the original image dimension (height, width).
So, now our screen is as below.
Since the image height is maintained unmodified, if we would like to get the image height that we see in the image (i.e, half of the original), we could use the properties contentHeight (img.contentHeight) instead of the height property (img.height). I will show a summary in the end of the post that will clarify that difference.
We could have changed the image height by setting the property height of the image (img.height). In that case, just make sure that you reset yScale to 1 (or the final image would still be affected by the scale factor).
Now lets learn how to create a border (stroke) in an image. To do that, we just have to write the following code:
img:setStrokeColor(255,255,255)
img.strokeWidth= 5
In the first line of the code above, we define what color (in RBG) the border will have. In the next line, we define the border width. You need to specify the border width or the border will not show in the screen.
Lets see how our image (without the yScale = 0.5) would be with the code above.
Lets see how our image (without the yScale = 0.5) would be with the code above.

Now you already know how to show an image in the screen, how to set its position, reduce its dimensions and also set a border to it.
To summarize all that we saw above, I created the screen below in which I show the same image with different xScale and yScale. I printed in the screen the main properties of the image so you can see how the xScale / yScale affect them.
To summarize all that we saw above, I created the screen below in which I show the same image with different xScale and yScale. I printed in the screen the main properties of the image so you can see how the xScale / yScale affect them.
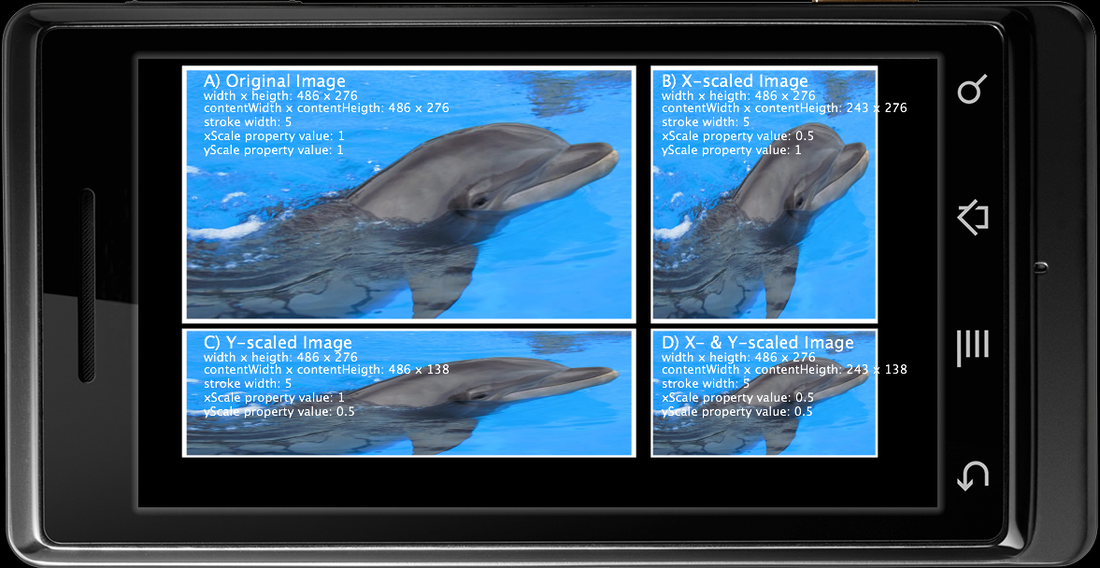
I ask you to pay attention to the border of the images. Did you notice that when you use xScale or yScale properties the border width is also modified?
So, be careful if you want to include a border to an image that has a xScale or yScale different from 1. If the image is reduced and you want to include a border width = 1, you probably have to set it with a width value more than 1 (since the border width will be reduced).
So, be careful if you want to include a border to an image that has a xScale or yScale different from 1. If the image is reduced and you want to include a border width = 1, you probably have to set it with a width value more than 1 (since the border width will be reduced).
